Use this cheat sheet to improve your riding. Just look at it before each ride to remind yourself of the aids you should be using to ask the horse to perform basic movements and maneuvers. Be aware this is a basic guide.
More advanced riders can still use it to go back to the basics, but it is simplified for beginner riders. Could be beneficial to train horses to respond to such basic aids.
Before we get to the basic riding aids cheat sheet, I want to go over a few important things you should know.
Take Note Before Using This Cheat Sheet
There is no exact one set of aids used universally. These are the aids I generally use when teaching a rider or horse the basics.
Each trainer or instructor may ride and teach the signals slightly different. I have had many riding instructors through the years and they varied in the way they taught me to ride. I have tried to pick the parts I have found most effective for beginner riders.
Another thing to be aware of is that horses are all taught a little bit differently and sometimes may be used to the way a certain rider uses their aids. Because of this you need to learn to change and adapt with each horse.
Sign up below to receive the Basic Riding Aids Cheat Sheets in your email inbox.
Couple Examples Of Differing Riding Aids
Example 1 (Differing Riding Aids)
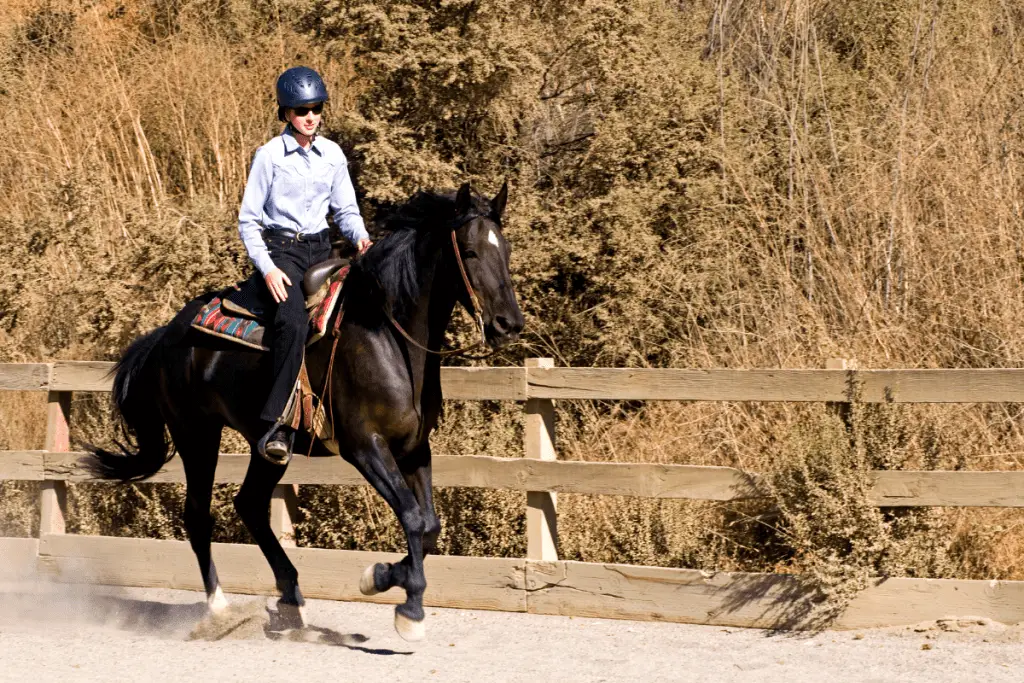
Asking for canter:
- With one instructor or horse you hold your outside leg back and inside leg at the girth and bump with your outside leg.
- With another instructor or horse you may ask for the canter when you swish or slide your outside leg back.
Example 2 (Differing Riding Aids)
Slowing horse down:
- With one instructor or horse you may sit down and put more weight into your seat, with consistent rein pressure which releases whenever the horse slows down.
- With another instructor or horse you may put less weight on the horse’s back but still your seat, and use a lighter rein, giving and taking on the reins.
Be Flexible & Willing To Learn Different Ways
Horses have different personalities, different likes and dislikes.
So like I said before you may have to change the way you ride slightly depending on the horse even when you have the same riding instructor. Most of the time with a good instructor they will be attuned to what the horse needs and help you work through any rough spots or holes in the communication.
It is good to learn different ways to ride and communicate with horses though it may be tough in the beginning. Think of it as building your tool box. When you start riding horses on your own you can go to your “tool box” of everything that you have learned and use that to see what works best with the horse you are riding and working with.
Visualization
To get the most out of this cheat sheet, it is beneficial to practice while you are not riding by using visualization. You have probably heard of it before and maybe have even tried it. It is when you practice in your mind.
I have a popular blog post you may be interested in, if you want to improve as an equestrian further while you are off the horse. It’s called 13 Great Ways To Get Better At Horseback Riding Without A Horse.
So back to the visualization…
You have to use your imagination for this one. It might be a little bit difficult at first if you are mostly a left-brained thinker but you can develop this skill which will positively transfer into your riding.
When you are able to find a quiet place to think, take this cheat sheet with you. Sit down and close your eyes. You can be as imaginative as you want. But basically you are going to imagine doing the steps that are on the cheat sheet for each of the aids.
Visualization can be a very powerful tool which is underutilized and I think I just might write a blog post about it. It is something I want to start incorporated into my riding training more. Especially because I am not able to ride as much as I used to be able to.
About The Riding Aids Cheat Sheet
Below the riding aids cheat sheet will begin. You can copy and paste the text into Word or whatever program you use.
Or you can sign up for my email list to get access to the Resource Library where you can download my Riding Aids Cheat Sheet PDF.
You will also find other useful printables. I try to add a new printable every month, sometimes more and sometimes I put a printable product in there for a limited amount of time.
Printable products have more value, and pages than the freebies. They are generally journals or for record keeping. And they have taken me many more hours to create.
I am always open to suggestions for printable freebies or products you would like me to create that will help your equestrian journey. Just look at the contact me page.
Disclaimer: I am a mom of a 2 year old, wife of a marine, run the household, run 2 start up businesses, have 9 pets I care for and am leasing a horse. That’s not even all so I ask for your mercy and forgiveness if I struggle with consistency sometimes haha. I am trying my best to keep up.
Aids Used While Riding
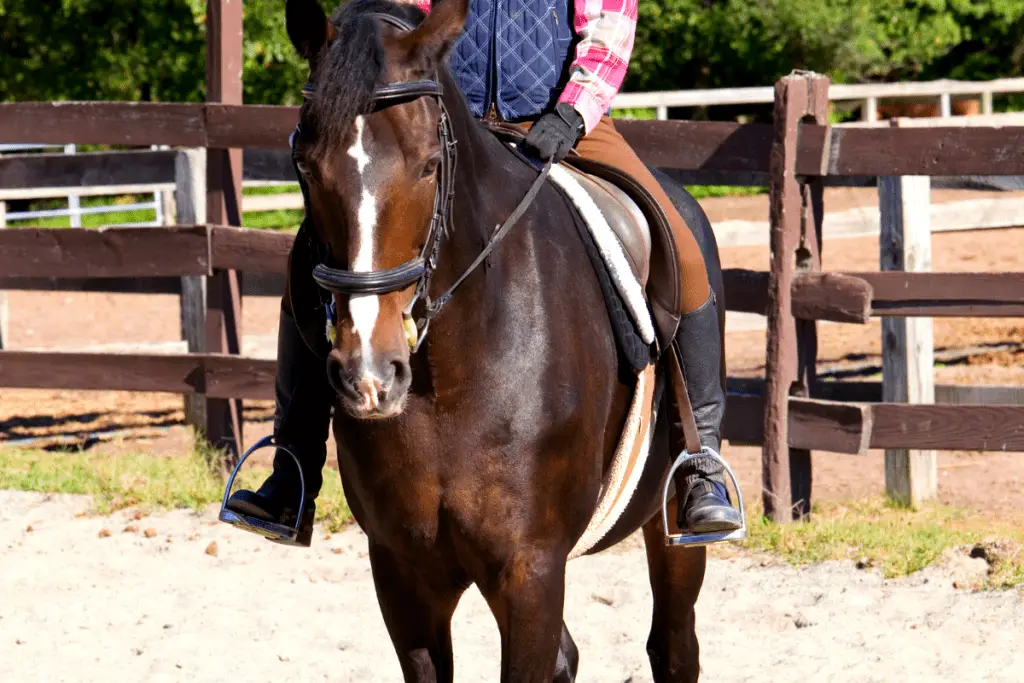
There are natural aids and artificial aids used when riding. Below is a quick list of what they are used for.
Natural Aids
- Seat/Weight
- slowing down
- speeding up
- more energy
- transitions
- turning
- sideways
- re-balancing
- Legs
- rebalancing
- turning
- bending
- more energy
- speeding up
- sideways
- transitions
- support
- Hands
- rebalancing
- turning
- slowing down
- Transitions
- bending
- straightening
- sideways
- support
- Voice– Backup of your aids if the horse is not clear or not responding.
Artificial Aids
These should never be used harshly or to punish the horse, only to make the signals and what you’re asking more clear. Should not be used alone but in the progression of aids and at the end.
- Whip/crop-
- Don’t use one with a sensitive horse.
- Used when the horse is not responding or being prompt to respond to the leg, seat and voice.
- Spurs–
- suggest not using, unless you have full control over your feet and legs and know how to use them softly and empathetically.
- Meaning most riders should not use them.
- They are used as a backup of the aids like voice and whip or crop.
Progression Of Aids
- Always start off with the lightest aids.
- Progressively get stronger with aids.
- Immediate release of pressure when the horse responds.
- Next time aids are applied start over with the lightest pressure.
- Can be applied with going forward, slowing down, or sideways.,
- In the beginning of your ride or when you are training the horse, accept little efforts and attempts at first.
- Slowly ask for more and more, whether that means more prompt response, or going sideways longer or maintaining a pace.
- Realize each horse responds differently to different amounts of pressure. May have to play around to see what works for each individual horse.
Using Voice Commands
- You can use a voice command to back up what you are saying with your aids such as saying walk on or teerot if the horse isn’t responding right away to your leg aids and whoaaaa or waaalk if the horse is not slowing down right away.
- When using voice commands the horse understands the inflection in your tone of voice more than the actual word.
- Try to use an energetic, louder, short tone of voice for upward transitions. Use a calm, low, drawn out voice for downward transitions.
Example of Leg Aid Progression
This example we use pressing with the leg but… you can also press and release over and over in a rhythm as well.
- Touch with your calf
- Press with your calf
- Press hard with your calf
- Press hard with calf and heels
- Firmly Tap the horse’s sides with your heels rhythmically.
- Continue step 5 until the horse responds even a tiny bit and then release and praise the horse.
You can add in a crop or whip to the progression if you use one as an additional step after step 5. But only use the crop or whip to back up your leg aid and only as hard as you would be okay with tapping on your own leg.
Example of Hand Aid Progression
This example we use holding with the rein but… you can also squeeze hold and release over and over in a rhythm as well like with the leg.
Something to note some horses respond better to a more consistent pressure while other horses perform better to a looser jiggly bit movement.
Seesawing the horse’s mouth is not okay. This hurts the horse’s mouth and is where you are pulling the reins one then the other back and forth sliding the bit side to side in the horse’s mouth.
Always try to be as light as possible when using your reins and keep your hands fluid and steady.
- Hold lightly with the reins or rein(depending on what your doing) putting slight pressure
- Increase the pressure slightly and hold reins.
- Keep the same hold but perform squeezes on the reins with your fists in a rhythm.
- Continue step 3 until the horse responds even a tiny bit and then release the pressure and praise the horse.
Aids For Transitions Of Speed & Pace
Below are the aids for changing the horse’s gaits and speed.
Halt To Walk
- Look where you want to go.
- Let your hands soften to allow the horse to reach forward.
- Give a small push with your seat.
- Press with both calves. (follow the progression of leg aids)
- When the horse begins to walk, relax your legs and seat. Follow the horse’s motion with your seat and follow the horse’s head movement with your hands.
Walk To Halt
- Look ahead, but use your peripheral vision to see where you want to stop.
- Still, your seat while keeping a good upright posture helps to think of holding your tailbone going down and forward a little, while your upper body grows taller.
- Make sure your legs stay relaxed draped against the horse’s sides.
- Put equal pressure on the reins. (follow the progression of hand aids)
- When the horse halts relax your seat, release the pressure of the reins. The horse might try to take a step or walk forward again.
- Repeat the process. Until the horse stands quietly
Slowing Down In The Walk
- Make sure your legs are relaxed and you are not holding tension.
- Slow the motion of your seat.
- Put pressure on the reins (follow progression of hand aids.)
- Release, relax and follow with hands and seat when horse slows down.
- Repeat process when ever horse speeds up again.
Speeding Up In The Walk
- Lighten your legs. Allow your hands to come forward a little.
- Push with your seat in the rhythm of the walk.
- Squeeze one leg and then the other back and forth as you feel the barrel of the horse sway side to side.
- When the horse speeds up relax your legs and seat and just move with the horses movement.
- Repeat whenever the horse slows down.
Walk To Trot
- Look where you want to go.
- Let your hands soften to allow the horse to reach forward.
- Give small pushes with your seat in time with the walk rhythm.
- Press with both calves. (follow the progression of leg aids)
- When the horse begins to trot, relax your legs and seat. Follow the horse’s motion with your seat for sitting or begin posting and keep your hands soft and steady.
Trot To Walk
- Look ahead where you want to ask the horse to walk.
- Sit in the saddle and restrict your seat movement.
- Stay straight with your upper body and make sure your legs stay relaxed.
- Put equal pressure on the reins. (follow the progression of hand aids)
- When the horse walks relax your seat, release the pressure of the reins. Follow the movement of the horse’s walk with your hands and seat.
- Repeat the process. Until the horse stands quietly
Slowing Down In The Posting Trot
- Sit a moment longer and stay up a moment longer. Essentially slowing down your posting.
- Make sure your legs are not tense or gripping. Your feet are balanced under you and your legs are relaxed.
- Apply light rein pressure. (follow hand aid progression)
- As soon as the horse slows down in the posting trot. Relax hands on the reins and post with the horse’s motion.
- Repeat anytime the horse speeds up.
Speeding Up In The Posting Trot
- Lighten your legs.
- Sit in the saddle lightly and spring out of the saddle with a little more energy, hold for a fraction and come back down lightly.
- Press your calves as you sit and release as you rise. (follow progression of leg aids.)
- Once the horse speeds up, relax with your legs and post with the horses motion.
- Repeat as needed.
Slowing Down In The Sitting Trot
- Legs relaxed.
- Still your seat.
- Pressure on reins. ( follow the progression of hand aids.)
- As soon as the horse slows release rein pressure and seat moving with the horse.
- Repeat as needed.
Speeding Up In The Sitting Trot
- Lighten your legs and bring your hands slightly forward.
- Push with your seat to encourage forward movement.
- Alternate pressing legs on the horse’s barrel, like in the walk, with the horse’s trot rhythm.
- Relax your legs and move your seat with the horse’s motion.
Trot to Halt
- Look ahead where you want to ask the horse to halt.
- Give yourself a little more time to ask for the trot halt transition than you would the trot walk transition.
- Sit in the saddle and restrict your seat movement.
- Stay straight with your upper body and make sure your legs stay relaxed.
- Put equal pressure on the reins. (follow the progression of hand aids)
- When the horse walks, relax your seat, release the pressure of the reins for a step or two, and then still your seat and apply reins until the horse halts.
- Work up to being able to halt from the trot with fewer and fewer walk steps in between.
Halt To Trot
- Look where you want to go.
- Let your hands soften to allow the horse to reach forward.
- Give a small push with your seat.
- Press with both calves. (follow the progression of leg aids)
- When the horse walks follow with your hands and seat but continue to press with your legs. (You can give a momentary release when the horse walks if they tend to be duller to the leg.) Then leg back on with progression of leg aids until the horse trots.
- At the trot keep your hands steady and follow with your seat at the trot or begin posting.
Trot To Canter
- Check that your reins are short enough that you will have control with your hands placed over the horse’s withers.
- Start with posting trot and get a good energetic but relaxed trot that keeps a steady and balanced rhythm.
- Before you ask for the canter, sit the trot, you want to either ask for the canter going into a corner or on a circle that is about 20 meters in diameter.
- When asking for the canter squeeze both legs, inside leg at the girth and outside leg sliding back behind the girth.
- Sit up straight throughout the transition.
- If needed, reinforce with the voice command “canter.”
- Relax your hands allowing the horse to canter and follow with your hands.
Canter To Trot
- Look ahead, take a breath.
- Stop following the motion of the canter with your seat. Keep your core strong.
- Make sure legs stay relaxed against the horses sides.
- Voice command trot (“taroooot.”)
- Tighten your figures on the reins, stop following the canter head motion and apply pressure to the reins. (follow progression of hand aids) (Some horses need give and take on the reins like a more gradual descent to the trot).
- When the horse trots release the pressure and keep your hands steady. The horse may need some rebalancing half halts if they are speeding around in the trot after the canter.
Slowing Down In The Canter
- Stay tall, squeeze your core, still your seat.
- Tighten your fingers and put pressure on the reins, while still following the horse’s head movement. (Follow the progression of hand aids.)
- Release as soon as the horse slows down.
- Many horses may break into the trot, you want to release the rein pressure before they break into the trot.
- If it feels like the horse may break into a trot, release rein pressure. Press with your legs to keep the horse going. You can use the voice command canter to help the horse to understand to keep cantering.
- Then repeat this whole until the horse slows down in the canter.
Speeding Up In The Canter
- Stay tall keep your core tight, bring your hands forward slightly following the horse’s head motion.
- Lighten your legs.
- Push with your seat.
- Close your legs and press with your calves.
- When the horse speeds up. Relax your legs, move your seat with the horse’s motion.
- Repeat if the horse slows down.
Staying On The Arena Rail, Path, Or Track
- Look where you want the horse to go.
- Nudge with your inside leg. (Leg closer to the middle of the arena.)
- Direct the horse with both reins going toward the track. (Be careful not to pull with the inside rein. This will turn the horse’s head to the inside and the horse will most likely turn toward the center of the ring.)
- Relax your legs and bring the reins back to the center when the horse is on the track.
Turning For Changes Of Direction, Circles & Other Ring Figures
- Look the way you want to go.
- Sit up tall and turn your seat a little bit in the direction you want to go. (Stay centered and swivel, don’t lean with your body.)
- Take your hand out to the side in the direction you want to turn and put slight pressure on the rein.
- Ease up on your other hand enough to allow the horse to turn.
- Give squeezes with both legs to keep the horse going. The leg outside of the turn is slightly back to control the hindquarters and the inside leg is toward the girth.
- After the turn, your hands and legs come back to the center.
Re-balancing Horse In The Trot- Basic Half Halt
- The right rein and your right leg control the horse’s right hind leg.
- Left rein and your left leg control the horse’s left hind leg.
- Put pressure on the inside rein and press with the inside leg as the inside hind comes off the ground.
- This will help the inside hind to lift higher and come under the horse further which will help the horse’s balance.
- The inside hind is connected to the outside front in the trot.
- So you can use the outside front to help with your timing. As the outside front comes forward that is when you apply pressure to the inside rein and leg.
If you are posting you apply these aids when you rise out of the saddle.
Conclusion
Use this cheat sheet as a general guide, most horses will respond to these aids.
But it is beneficial to still be flexible, so that you can adapt to the horse you are riding and be the most effective rider possible.
Let me know if there is a different way you do something that you have found effective. I am always trying to add to my riding tool box! 🙂
Cheers, Kacey

